How To Remote-Control When Screen Recording

Modern Web Weekly #31
Captured Surface Control API
Have you ever been in a situation where you were sharing a presentation on your screen and you had to go back and forth between the screen recording app and the presentation when you wanted to go to the next slide?
In Modern Web Weekly #15, I wrote about the Capture Handle API that enables web apps to control the captured tab or window by sending arbitrary commands through a BroadcastChannel that, for example, let the capturing app control a presentation on the recorded side. That way, you don't have to go back and forth when you want to go to the next slide in a presentation but you can control it right in the recording app.
To expand on this, the Captured Surface Control API has now been added since Chrome and Edge 122 as an Origin Trial that also lets screen recording apps scroll and zoom the recorded tab or window.
You can check out the demo and here's a screen recording of it:
Capture Handle and Captured Surface Control demo on What PWA Can Do Today
How it works
At the heart of the Captured Surface Control API lies the CaptureController interface that is passed as an argument when calling navigator.mediaDevices.getDisplayMedia to control the captured side:
const controller = new CaptureController();

// make sure the capturing side stays focused
// when screen capturing begins
captureController.setFocusBehavior('no-focus-change');

// capture the screen, user can choose a tab or window
const stream = await navigator.mediaDevices.getDisplayMedia({ controller });

// show the stream as a <video>
const preview = document.querySelector('video');
preview.srcObject = stream;
We can now use the sendWheel() and setZoomLevel() methods of the CaptureController to scroll or zoom the captured side. The first call to any of these methods will display a permission prompt. In the demo, I use a button to enable scrolling to trigger this prompt. The argument for sendWheel() is then an empty object {}:
enableScrollingButton.onclick = (e) => {
  controller.sendWheel({});
}
With sendWheel() the capturing app can send wheel events that are indistinguishable from real users scrolling to the captured side. We can do this by setting an wheel event listener on the <video> element so when we scroll this element on the capturing side, the captured side will be scrolled as well.
To do this, the capturing app needs to translate the offsets relative to the <video> element into coordinates within the video track's own coordinates space. The browser will likewise translate between the size of the captured frames and the size of the tab, and deliver the scroll event at an offset corresponding to the expectation of the web app.
The explainer document on Google Developers shows a possible implementation of a function that takes care of translating these coordinates:
function translateCoordinates(offsetX, offsetY) {
  const previewDimensions = preview.getBoundingClientRect();
  const trackSettings = preview.srcObject.getVideoTracks()[0].getSettings();

  const x = trackSettings.width * offsetX / previewDimensions.width;
  const y = trackSettings.height * offsetY / previewDimensions.height;

  return [Math.floor(x), Math.floor(y)];
}
The wheel event listener could look like this:
preview.onwheel = async (e) => {
  const {offsetX, offsetY, deltaX, deltaY} = e;
  const [x, y] = translateCoordinates(offsetX, offsetY);
  const [wheelDeltaX, wheelDeltaY] = [-deltaX, -deltaY];

  try {
   await controller.sendWheel({ x, y, wheelDeltaX, wheelDeltaY });
  }
  catch (error) {
    console.log(error);
  }
};
Now, whenever the <video> element that shows the video stream of the captured tab or window is scrolled, the captured side will be scrolled as well.
Zooming
To zoom the captured side in or out, we first need to get the zoom levels that the captured tab or window supports. This can vary per browser so always make sure you use the actually supported values. To get the supported zoom levels, call the static getSupportedZoomLevels() method of CaptureController:
const zoomLevels = CaptureController.getSupportedZoomLevels();We can then add click event handlers to the buttons to zoom in and out. Inside these click handlers, we read the current zoom level with getZoomLevel() and then set the zoom level to the previous or next value, depending on which button was pressed:
// zoom in
zoomInButton.addEventListener('click', async () => {
  const index = zoomLevels.indexOf(controller.getZoomLevel());
  const newZoomLevel = zoomLevels[Math.min(index + 1, zoomLevels.length - 1)];

  try {
    await controller.setZoomLevel(newZoomLevel);
  }
  catch(err) {
    console.log('zoom in error', err);
  }
});

// zoom out
zoomOutButton.addEventListener('click', async () => {
  const index = zoomLevels.indexOf(controller.getZoomLevel());
  const newZoomLevel = zoomLevels[Math.max(index - 1, 0)];

  try {
    await controller.setZoomLevel(newZoomLevel);
  }
  catch(err) {
    console.log('zoom out error', err);
  }
});
Together with the Capture Handle API, the Captured Surface Control API offers great control over the captured web app and makes screen recording much easier.
The Captured Surface Control API is currently available behind an Origin Trial which means you need to register and get a token to enable it in your web app.
To enable it locally, go to chrome://flags/#captured-surface-control and set the feature to "Enabled".
I finally launched my Web Components course!
It's been a while in the making, but I finally launched my course "Mastering Web Components" which will get you from beginner to expert on Web Components.
The course sells for $69 but for the coming week, readers of Modern Web Weekly get it for only $49 with the discount code "MODERN-WEB-WEEKLY".
Check it out here 👇
Mastering Web Components
Mastering Web Components is a course that will take you from beginner to expert in Web Components by teaching you how can create your own reusable Web Components and integrate them into any web app. Throughout the course, you will build an image gallery component to apply and test your knowledge of the concepts you have learned.
The course contains many interactive code examples that you can study and modify to test and sharpen your skills.
You will learn:
- how to create and register a Web Component
- how to effectively use the lifecycle methods of Web Components
- how to encapsulate the HTML and CSS of your Web Component using Shadow DOM
- how to extend native HTML elements
- how to compose Web Components with user-defined content
- how to theme and share styling between Web Components
- how to test Web Components
- how to integrate Web Components into forms and validate them
- how to server-side render Web Components
- how to implement data-binding for Web Components
- how to compose Web Components using the mixin pattern
- how to build Web Components with a library
You get:
- 257 page PDF
- 45+ interactive code examples
Anchor Positioning in Safari?
Anchor Positioning enables web developers to make sure that tooltips, dropdown menus, context menus etc. always display inside the viewport with just a few lines of CSS. I wrote about this way back in Modern Web Weekly #2.
If you haven't seen it before, check out this demo in Chrome or Edge.
Although it's not functional yet, Anchor Positioning has now also been added to the Feature Flags of Safari Tech Preview. You can enable it, but unfortunately, it doesn't work yet.
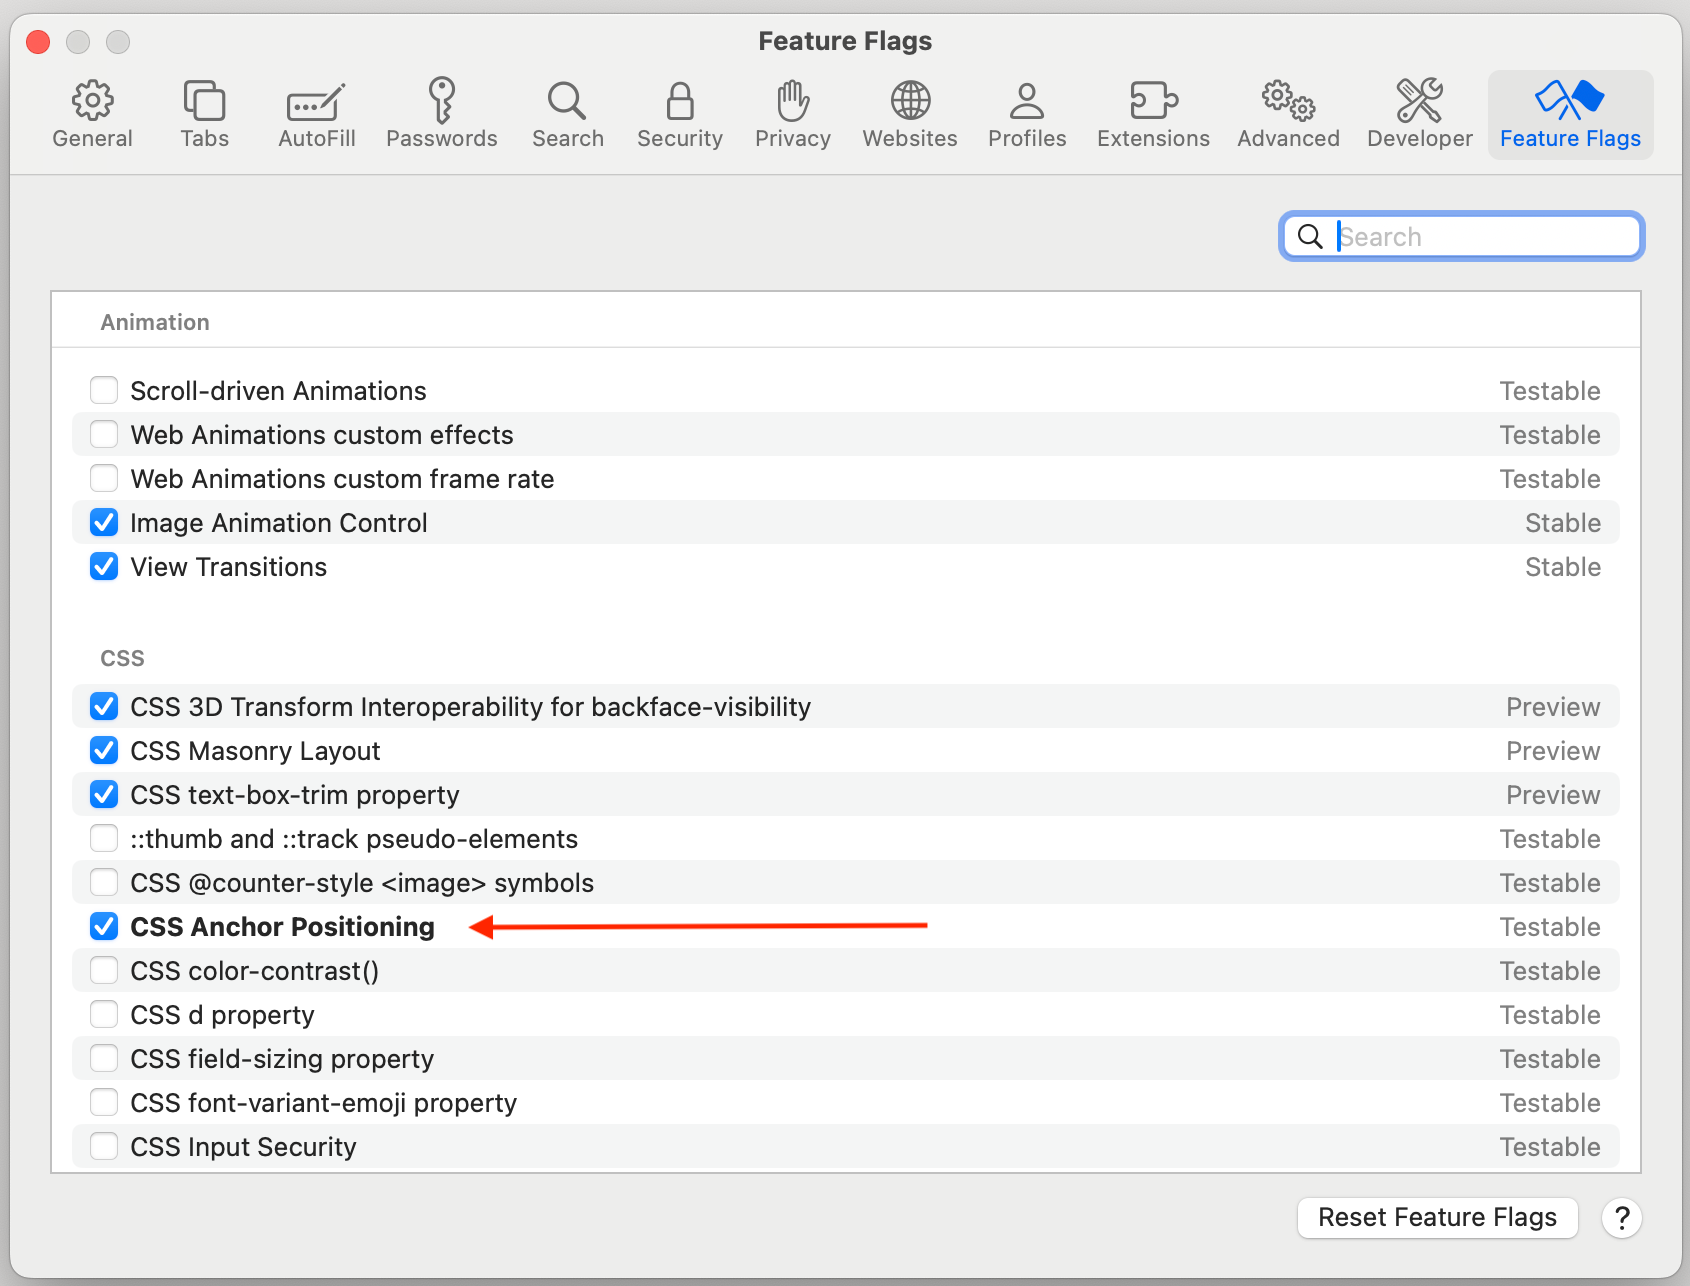
Let's hope this will be implemented as soon as possible! 💪
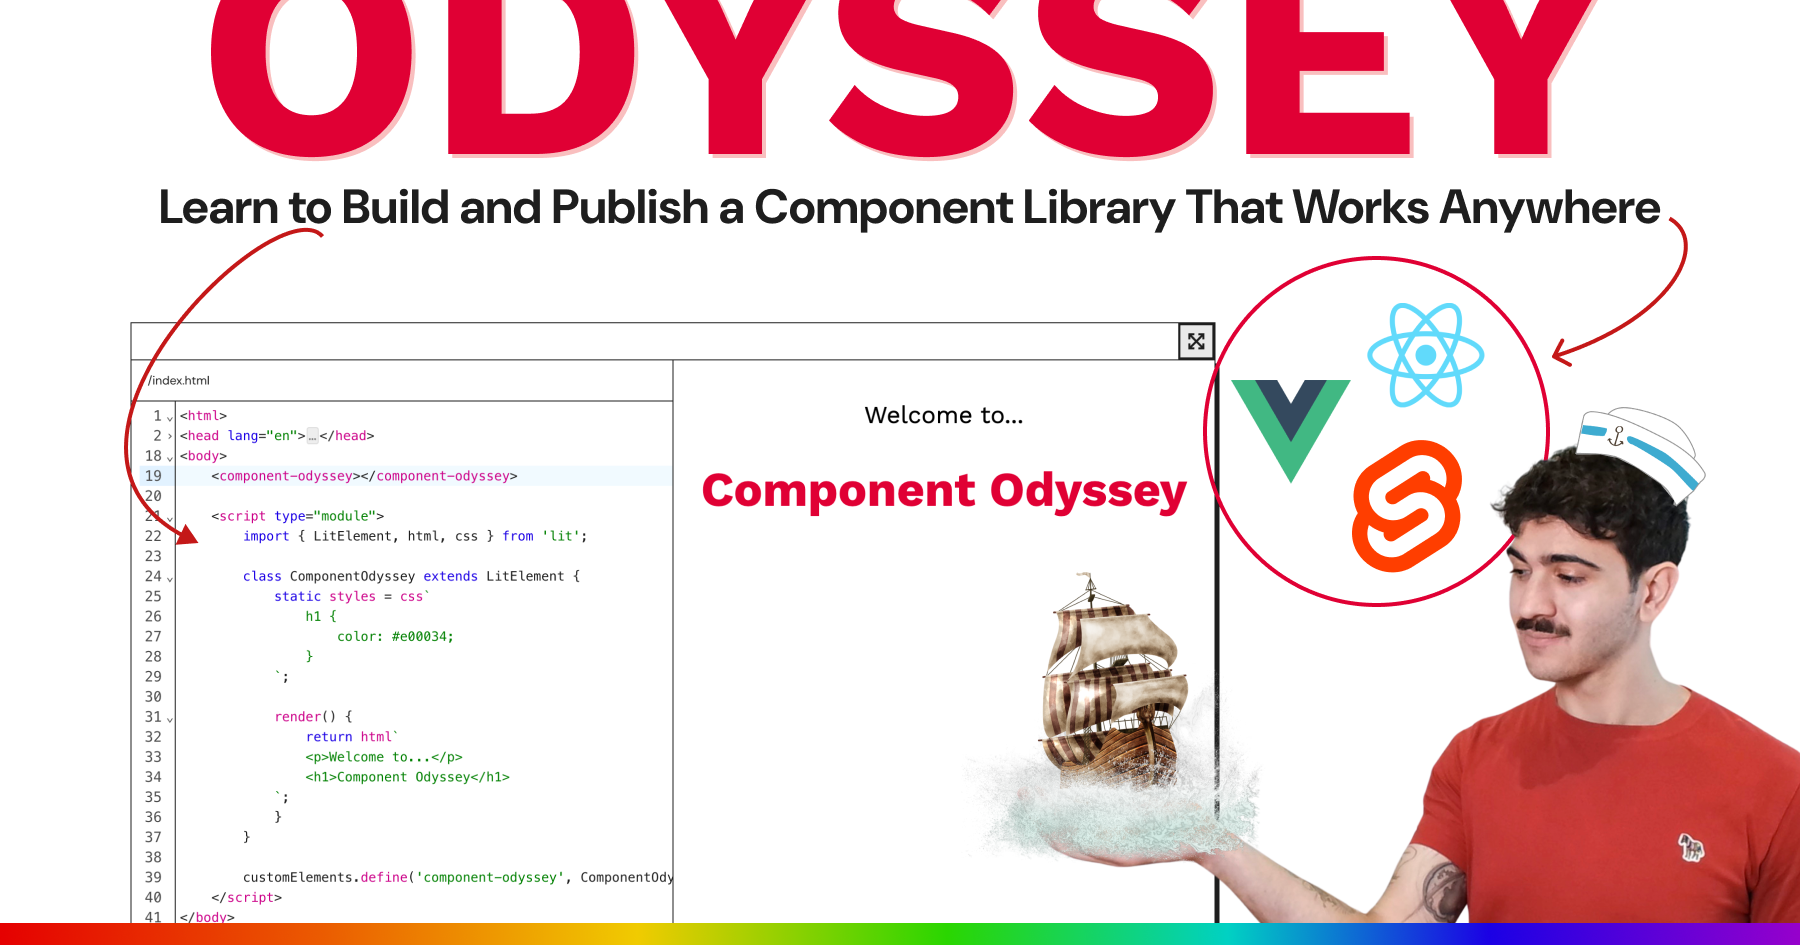
Learn to build and publish a component library that works in any web framework
The interactive Component Odyssey course will teach you everything you need to build a modern web component library. In over 60 lessons, learn how to build, style, and publish components that are interoperable with React, Vue, Svelte, and any other web framework.
Save yourself and your company weeks of development time by betting on the web and browser-native tools.
Start building components your users will love. Web Weekly readers get 10% off with the discount code MODERNWEB01.
Fronteers meetup at Werkspot, Amsterdam
If you're in the Amsterdam area, you can join me a the Fronteers meetup at Werkspot, where I'll be speaking on the State of PWAs:


Making multi-page app View Transitions fast
In the last edition, I wrote about cross-document View Transitions which are View Transitions for multi-page apps. In other words: View Transitions between static HTML pages. These View Transitions are now supported in Chrome 126.
With these cross-document View Transitions we're of course dealing with full page loads whenever we navigate from one page to another so we need to make sure all pages load fast otherwise the transitions won't feel responsive.
This can be challenging when your pages don't load fast enough. I found that a good way of dealing with this is to add a Service Worker to your web app and in particular to let it serve streaming responses.
By default, the browser's HTML parser renders HTML in a streaming fashion, which means that the browser can render HTML while it downloads the page. It doesn't have to wait for the whole page to download but it can already start rendering while it's downloading.
You could of course cache all HTML pages of your app in IndexedDB and let the Service Worker serve them, but there's an even better and faster way.
By adding a Service Worker to your web app that uses the body property of a Response, which is a ReadableStream, you can make full HTML pages load blazing fast.
Whenever a page is fetched, we can access that ReadableStream in the body property of Response and start rendering HTML while it downloads:
fetch('/some/url')
.then(response => response.body)
.then(body => {
  const reader = body.getReader(); // we can now read the stream!
}
Single-page apps typically use an app shell, which is the single page that the content is injected into. It usually consists of a header, footer, and a content area in between where the content for each page is placed.
The problem is that any content that is added to the HTML page after it has loaded is bypassing the streaming HTML parser and is, therefore, slower to render. By splitting all the pages into header, footer, and content and letting the Service Worker stream those parts, we can render pages incredibly fast.
This means it can start rendering the header of the page while the content and footer are still downloading, giving a huge performance benefit.
Let’s have a look at the code, in particular the fetch event handler that is invoked whenever an outgoing request is intercepted by the Service Worker:
const fetchHandler = async e => {
  const {request} = e;
  const {url} = request;

  // if the page is static, stream it
  if(isStaticHTML(url)) {
    e.respondWith(getStreamedHtmlResponse(url));
  }
  else {
    e.respondWith(
      caches.match(request)
      .then(response => response ? response : fetch(request))
    );
  }
};
self.addEventListener('fetch', fetchHandler);
The isStaticHTML() function can be any logic to determine if the fetched url points to a static HTML page that needs to be streamed.
If this is the case, the Service Worker will respond with the resulting stream from getStreamedHtmlResponse() that looks like this:
const templateFolder = '/src/templates';

// header template
const header = `${templateFolder}/header.html`;

// footer template
const footer = `${templateFolder}/footer.html`;

const getStreamedHtmlResponse = (url) => {
  const stream = new ReadableStream({
    async start(controller) {
      const pushToStream = stream => {
        const reader = stream.getReader();

        return reader.read().then(function process({value, done}) {
          if(done) {
            return;
          }
          controller.enqueue(value);
          return reader.read().then(process);
        });
      };

      const templates = [
        caches.match(header),
        // content, for example /src/templates/home.html
        caches.match(`${templateFolder}${url}.html`),
        caches.match(footer),
      ];

      const responses = await Promise.all(templates);

      for (const template of responses) {
        await pushToStream(template.body);
      }

      controller.close();
    }
  });

  // the stream is the body of the returned response
  return new Response(stream, {
    headers: {'Content-Type': 'text/html; charset=utf-8'}
  });
};
Inside getStreamedHtmlResponse we construct a new ReadableStream that is passed an underlyingSource object, containing the start method which is called immediately after the stream is constructed.
start is passed a controller argument which is a ReadableStreamDefaultController that allows control of the internal state and queue of the ReadableStream.
Inside the start method, we fetch the templates for the HTML page and push the contents of the templates as individual streams into the main stream using the pushToStream function.
This function reads the individual streams from the templates chunk by chunk and enqueues them using controller.enqueue().
Since the start function is asynchronous, a new Response is immediately returned with the ReadableStream as the body of the response.
The browser can now stream the response and the page appears on the screen nearly instantly.