Modern Web Weekly #3
Here we go with edition #3! I got a lot of positive feedback last week that I'm very grateful for. Is there anything you would like to read about in a future edition or anything that needs improvement? Please send me a DM on Twitter to let me know!
When and how to use a popover
In last week's edition, I explained the popover attribute and how to use anchor positioning to ensure it's always shown inside the browser's viewport.
Hidde de Vries wrote an elaborate article on the different semantics that could make sense for your popover-behaved elements.
Semantics and the popover attribute: what to use when? by Hidde de Vries
How to make a <dialog> return a value
This article was featured in the first edition of Modern Web Weekly I mistakenly only sent to one subscriber: me. To make sure you won't miss it, here it is again:
Here's how you can have a native <dialog> HTML element return a value when it's closed. This is a very common use case: based on which button inside a <dialog> it is closed with, a certain action needs to be performed
Let's say you click an icon to delete an item from a list and a confirmation <dialog> is shown containing two buttons: one to confirm and delete the item and one to cancel. Both buttons should close the <dialog> but only the "delete" button should delete the item.
We, therefore, need to detect which button was clicked so we can attach a "click" event handler to both buttons, delete the item when the "delete" button was clicked and then close the <dialog>. But there is a much easier way.
We add both buttons as submit buttons to the <dialog> and wrap them in a form with method="dialog". We then give each button a "value" property with the return value we need to detect which button was clicked.
This value will populate the <dialog>'s returnValue property.
When one of the buttons is clicked the <dialog> will close and its "close" event will be fired. We attach a handler for this event and inspect the <dialog>'s returnValue property to see which button was clicked.
Here's a codepen demonstrating this:
<dialog> returning a value when closed
Every website deserves a Service Worker
Does your website work offline?
If not, it should. In the same way, every website should be responsive and work on both desktop and mobile devices, there’s really no excuse anymore for websites to not work offline.
You can now make your website work offline in every browser.
And the best part is that you can progressively enhance your website so it will still work perfectly if someone happens to visit it using a very old browser. It just won’t work offline in that case.

What “offline” really means
So how do you make your site work offline? Do you even want it to work offline?
If your site is a chatbox, for example, it might not even make sense. How can you chat with someone if you’re not online?
But “offline” doesn’t mean that your users are always offline.
What it really means is that users are increasingly visiting your site on mobile devices. And mobile devices tend to have flaky, intermittent, or slow connections.
It is in exactly these situations that your website should provide a good enough experience that users won’t want to leave your site. Your site shouldn’t break, and it should provide something to keep the user from leaving.
If you’ve made sure that your site’s assets (CSS, images, JavaScript) can be served from a local cache, then your assets will be immediately available and won’t need to be fetched through the network.
And if you’ve made sure that your most frequently visited pages are also locally cached, these will be immediately available as well.
That’s what makes the difference when a user visits your site on a slow, intermittent connection and that’s what “offline” really means. When your site is still able to provide a good user experience in those circumstances, you win.
Visit some of your favorite websites, turn your wifi or 4G off, refresh the page, and see what happens.
Most will fail and show you this:
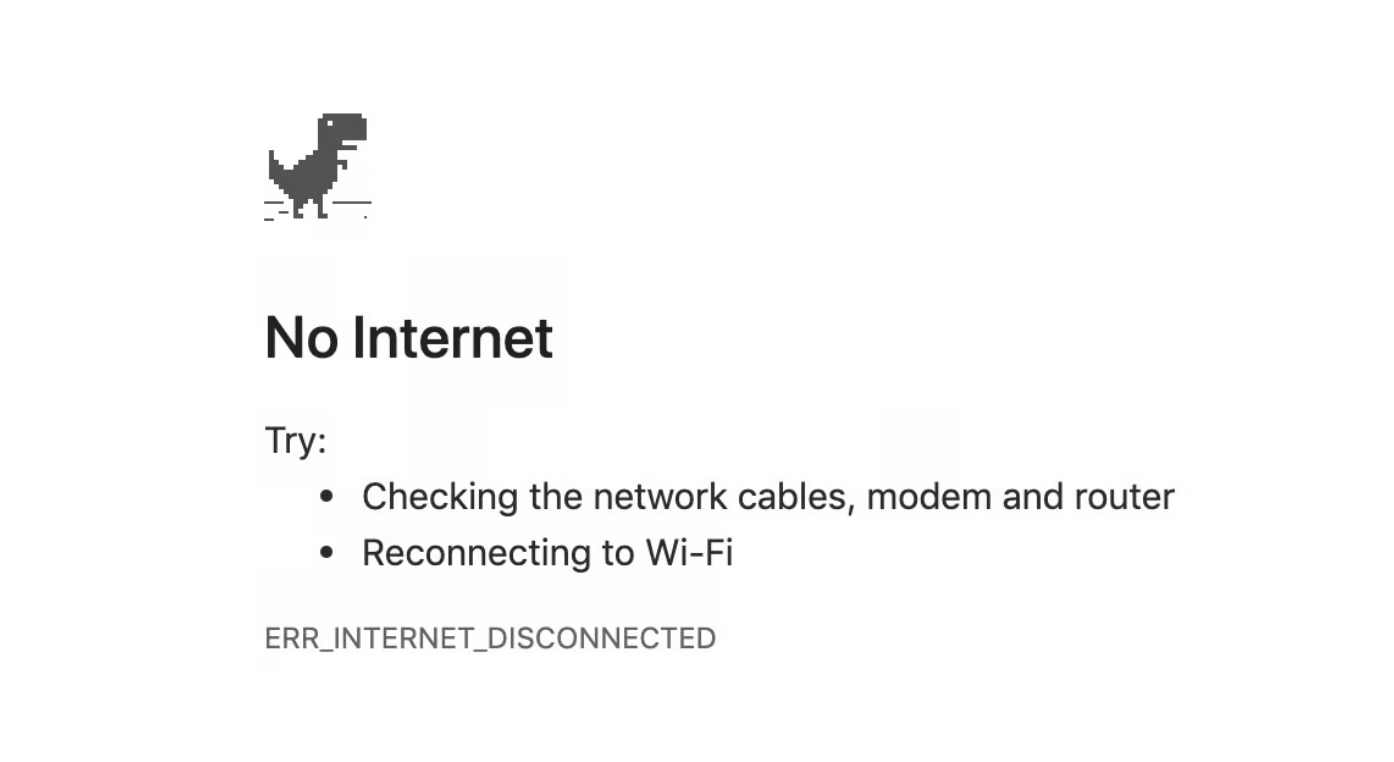
There’s no need for this. And there’s a better way.
How to make your website work offline
To make your website work offline, all you need to do is add a service worker. A service worker is a type of Web Worker that acts as a proxy server between your website, the browser, and the network that enables you to intercept requests and responses.
Just let that sink in for a minute: by adding a service worker to your website, you now have the power to intercept any outgoing requests and incoming responses. That alone should be enough reason to add one to your website.
You can now intercept requests and serve basically whatever you want. You can serve static assets straight from the local cache or even serve API responses and BLOBs from IndexedDB.
To register a service worker, create a file named service-worker.js (any name will do) and place it in the root of your app.
Next, call navigator.serviceWorker.register to actually register the service worker.
Wrap it in a check to make sure old browsers don’t break:
if('serviceWorker' in navigator) {
  const registerServiceWorker = async () => {
    navigator.serviceWorker.register('./service-worker.js');
    const registration = await registerServiceWorker();
  };
}
Your site is now controlled by a service worker. However, since the file is still empty, it won’t actually do anything. A service worker is an event-driven Web Worker, so we need to add code to respond to these events, starting with the lifecycle events.
The service worker lifecycle
To make sure service workers don’t break websites, they go through a strictly defined lifecycle. This makes sure that there is only one service worker controlling your website (and therefore only one version of your site exists).
The service worker lifecycle also ensures that a new service worker will not disrupt one that is currently running.
The install event
The first event fired is the install event. It’s fired when the service worker is downloaded, parsed, and executed successfully.
If anything goes wrong during this phase, the promise returned from navigator.serviceWorker.register is rejected, the install event will not fire, and the service worker will be discarded. If there was already a service worker running, it will continue to run.
If the service worker was successfully installed, the install event will fire. Inside the event handler, you’ll cache your static assets.
Caching is done using the CacheStorage object, which lives in window.caches.
First, we open a cache and then pass an array of paths to assets we want to cache to the addAll method.
The open method returns a Promise and we pass this Promise to the waitUntilmethod of the install event to signal to the browser when installing is complete and if it was successful:
const cacheName = 'my-cache';
const filestoCache = [
  '/index.html',
  '/css/styles.css',
  '/js/app.js',
  '/img/logo.png'
];

self.addEventListener('install', e => {
  e.waitUntil(
    caches.open(cacheName)
    .then(cache => cache.addAll(filesToCache))
  );
});
Again, if the Promise passed to e.waitUntil rejects, it will signal a failure of the installation to the browser and the new service worker will be discarded, leaving the existing one (if any) running.
The activate event
When you successfully install the new service worker, the activate event will be fired. The service worker is now ready to control your website, but it won’t control it yet.
The service worker will only control your website when you refresh the page after it’s activated. Again, this is to assure that nothing is broken.
The window(s) of a website that a service worker controls are called its clients. Inside the event handler for the install event, it’s possible to take control of uncontrolled clients by calling self.clients.claim().
The service worker will then control the website immediately, although this only works when the service worker is activated for the very first time. It doesn’t work when a new version of the service worker is activated:
self.addEventListener('activate', e => self.clients.claim());Intercepting requests
The killer feature of service workers is the ability to intercept requests and responses.
Whenever a request is made from the website that the service worker controls, a fetch event is fired. The request property of the FetchEvent gives access to the request that was made.
Inside the event handler we can serve the static assets we added to the cache earlier in the handler for the install event:
self.addEventListener('fetch', e => {
  e.respondWith(
    caches.match(e.request)
    .then(response => response ? response : fetch(e.request))
  )
});
By calling the respondWith method of the FetchEvent , the browser’s default fetch handling is prevented. We call it with a Promise that resolves to a Response, which is then served.
Here, we call caches.match() to see if the asset was cached. If it was, it will be served from the cache. If it was not, we still fetch it from the network by calling fetch(e.request).
This assures that static assets will always be served from the cache as long as they were cached before.
Now, whenever a user of your website is on a bad mobile connection or even completely offline, the cached assets will still be served and you can give your users a good user experience.
If your website consists only of static HTML pages, you can cache them all as well and your complete website can be viewed whether a user is online or not — provided that they at least visited your site before.
Intercepting responses
But it doesn’t end there. If your website fetches dynamic content from a REST API for example, you can cache that too.
Whenever a request to the API is made, we can cache the response for later use. If the same request is made again and fails for whatever reason, we just serve the response we cached earlier.
self.addEventListener('fetch', e => {
  const {method, url} = e.request;
  const requestClone = e.request.clone();

  if(url.includes('/api')) {
    e.respondWith(
      fetch(e.request)
      .then(response => {
        const responseClone = response.clone();
        if(method === 'GET') {
          cacheApiResponse(responseClone);
        }

        return response;
      })
      .catch(err => {
         if(method === 'GET') {
           return getCachedApiResponse(e.request);
         }

         if(method === 'POST') {
           cacheApiRequest(requestClone);
           return new Response(JSON.stringify({
              message: 'POST request was cached'
           }));
         }
       })
   );
 }
 else {
   e.respondWith(
     caches.match(e.request)
     .then(response => response ? response : fetch(e.request))
   );
 }
});
When the URL of the request contains /api, we know it’s a call to the API. We then pass it through by calling e.respondWith with fetch(e.request), which basically just forwards the same request.
When the response arrives, it needs to be cloned, saved to IndexedDB with the cacheApiResponse method (implementation omitted), and then served.
However, when an error occurs while fetching and the Promise returned from fetch(e.request) rejects, we catch the error and serve an API response that was cached earlier with getCachedApiResponse(e.request).
This way, we can assure that calls for dynamic content will also succeed even when users are offline or the API is unreachable for other reasons.
Automatic synchronization
The examples above centered on GET requests to fetch data, but what if you need to do POST requests to persist data in the backend?
As you can see, there is a check for a POST request in the catch clause in the example below:
.catch(err => {
   ...
   if(method === 'POST') {
     cacheApiRequest(requestClone);
     return new Response(JSON.stringify({
       message: 'POST request was cached'
     }));
   }
 })
This means that whenever a POST request to the API fails due to the user being offline, a clone of the request is saved using the cacheApiRequest method (implementation omitted) and a custom response is returned, indicating that the POST request was saved.
This allows us to save all changes that were made to a local cache like IndexedDB and send these changes to the backend later when the user is back online.
Whenever the user’s connection is recovered, a sync event will fire and we can retry the previously made API calls:
self.addEventListener('sync', e => {
     e.waitUntil(retryApiCalls());
 });
Preloading responses
So far we’ve seen how to serve static assets that were previously cached, as well as how to save API responses to serve them later from cache in case the API is not available or the user is offline.
But API calls that are made to fetch dynamic content will have to be made at least once first so they can be cached for successive calls.
This means that any API call that was not made first will not be cached and therefore won’t be available when the user is offline.
If your website consists of static HTML pages only, you can cache these in the install event by feeding them to the cache.addAll() call:
const filesToCache = [
  '/index.html',
  '/about.html',
  '/blog/posting.html'
  ...
];
self.addEventListener('install', e => {
  e.waitUntil(
    caches.open(cacheName)
    .then(cache => cache.addAll(filesToCache))
  );
});
We can actually do the same for any or certain API calls made from our website to prefetch content.
For example, if your site is a blog, you could prefetch your most recent or popular postings upfront so they will be instantly available even when the user is offline.
The user only needs to visit one page of your site. When the service worker is activated, we prefetch the content we want. The right place for this is the activate event of the service worker:
self.addEventListener('activate', e => {
  ...
  const postings = [
    '/api/blog/1'
    '/api/blog/3'
    '/api/blog/9'
  ];

  e.waitUntil(async () => {
    await Promise.all(postings.map(url => prefetch(url)));
  }());
});
const prefetch = async url => {
  const response = await fetch(url);
  const clone = response.clone();

  cacheApiResponse(clone);
};
Inside the activate event, we iterate over an array containing data like the URLs of our most popular blog postings. Each posting is then fetched in the background and stored using the cacheApiResponse method (implementation omitted).
Now we are able to serve all these postings from cache so they will be immediately available without requiring a network call.
Not only is your website fully available offline, but it will also load near instantly, giving users an app-like experience.
Caching strategies
There are several strategies that can be employed when caching resources.
Cache, fallback to network
In the previous examples, the strategy for static assets was to always try the cache first. If the asset was not cached, try the network.
The same can be done for API calls and other GET requests. This is the best approach for building an offline-first experience, but it does mean that a user might receive outdated content from the cache.
Luckily, there’s a solution for that as we’ll see in the third strategy.
Network, fallback to cache
The opposite strategy of the above is to always try the network first. If this fails, serve the resource from cache.
This is a good strategy for resources that are frequently updated, so online users will always get the latest content and offline users will get a (possibly older) cached version.
The downside of this approach is that when a network request takes a while, it will also take a while to fallback to the cache if that network request eventually fails.
Cache, then network
A good solution to the problem of the “network, fallback to cache” strategy is to always serve resources immediately from the cache and then, in the background, issue a network request to fetch that same resource and update the cache.
The benefit of this approach is that the requested resource is always immediately available, and the cached version will almost always be up-to-date.
There is, of course, the possibility that the content fetched from the network is newer and that the user just got served an older version from the cache.
In this case, you can update the content that was already shown from the cache. However, you need to take care not to disrupt the user experience.
For example, the user might be reading the cached version of an article. If this article is then suddenly updated with newer, different content, you will probably provide a bad user experience.
If you are absolutely sure that you will update content that is not yet visible to the user, you can choose to do so. You could also show a banner to indicate that newer content is available and prompt the user to refresh the page.
If the resource is not very time-sensitive, you can also choose to just show the cached version with the newer version being shown on a subsequent visit.
Usually, you will need to use multiple strategies at the same time depending on the types of your resources.
Resources that are updated frequently are probably best served from the network, while it‘s probably safe to serve resources that are not frequently updated from the cache.
You should determine what is best for your situation and adjust your service worker to your needs.
Generic error fallback
In case both the network and the cache fail, or a cached version is not available, a generic error response can be provided. For example, a page can display saying the website is temporarily offline.
This can simply be a static HTML page residing in the cache:
self.addEventListener('fetch', e => {
  e.respondWith(
    caches.match(e.request)
    .then(response => response ? response : fetch(e.request))
    .catch(() => caches.match('./offline.html'))
  )
});
Now, go implement that service worker
Service workers give you the ability to control all network traffic between your website and the internet. With that capability comes an incredible amount of power.
You can now instantly serve resources and provide an app-like experience to your users.
In addition to controlling network traffic, service workers also enable your website to receive push notifications even when a user is not interacting with your website.
Service workers also enable you to turn your website into a Progressive Web App, allowing users to install your website to their device and interact with it like a native app.
But the ability to control network traffic and make your website work offline should be enough reason to implement a service worker for your website today.
Service workers are now supported in all major browsers, so there is no reason or excuse not to.
Your users will thank you for it.